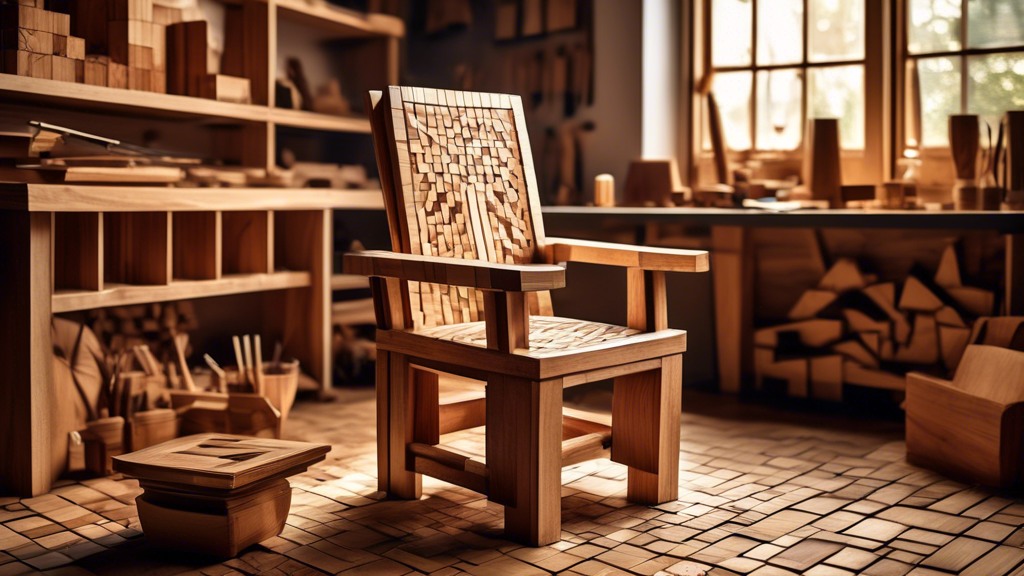
How to craft a seat with woven wooden tiles
Crafting a Seat with Woven Wooden Tiles: A Fun Journey
Hello fellow wood enthusiasts, beginners, and those who just like the smell of sawdust in the morning! Today, I’m excited to share a project that’s a little bit like weaving a giant basket, but this time, you’ll have a nice comfy place to park your behind at the end—yes, we’re talking about a seat with woven wooden tiles!
What You’ll Need
- Wooden tiles (preferably in square shapes, approximately 2×2 inches)
- Wood glue or small finishing nails
- A sturdy frame for the seat (think of it as the cake for your icing tiles)
- A saw (hand saw for those bicep workouts, or a power saw for speed)
- Sandpaper (after all, splinters never made good friends)
- Finish of your choice (stain, varnish, etc.)
Step-by-Step Guide
Step 1: Prepare Your Tiles
Picture this: you’ve got a tower of wooden tiles waiting to be the star of the show. If you’ve purchased pre-cut tiles, lucky you! If you’re cutting them yourself, remember to measure twice and cut once, unless you enjoy creating new species of mismatched puzzle pieces.
Remember to sand those edges too. Nostalgia for your last splinter incident isn’t reason enough to repeat history!
Step 2: Construct Your Seat Frame
Think of your frame as the reliable friend who’s always got your back. Literally. A simple rectangular frame made with 2x4s will do perfectly. Join the corners securely—bolts or wood screws might give this step a satisfying sense of permanence.
Don’t be afraid to test it out. You know, a good solid sit test. Make sure it’s sturdy enough to handle you, your pets, and that random pile of laundry you swear you’ll fold tomorrow.
Step 3: It’s Weaving Time!
Here comes the fun part! Lay your tile pieces in one direction across your frame. Use a dab of wood glue or a few finishing nails to secure each one. Let’s say, left to right. Once that’s smooth as butter, weave more tiles in the opposite direction—over, under, over, just like you’re braiding a very square friend’s hair.
As you work through this weaving part, remember that even the great masters had pieces that magically turned into something else. Trust me, if a tile decides it wants to be a coaster instead, let it go. We’ve all had those rebellious wood bits in our lives.
Step 4: Finishing Touches
You’ve done the hard work of transformation, and now this beautiful woven tile seat deserves a glamorous finish. Choose a stain or varnish that compliments your home, personality, or simply looks fancy enough to impress Grandma next holiday season.
Apply your chosen finish, paying homage to this stunning piece that you’ve crafted with your hands. Consult the finish instructions, wander off for coffee, and let it dry thoroughly. And not to brag, but this is a great time for a victory dance.
Tips and Tricks
Pro Tip 1: If you’re working with hand tools, remember: patience is a virtue. And keep the band-aids handy!
Pro Tip 2: For those of you wielding power tools, safety first. No one impresses people by having nine fingers.
When Things Go Haywire
Hey, let’s be honest: sometimes projects decide to go on vacation without you. Once, while making a similar seat, I ended up with a squishier version that doubled as a temporary footstool. Mistakes happen. Laugh it off, adjust, and try again.
Just remember, every mis-cut piece and every mislaid tile is part of your story—and it’s a pretty good one at that.
So, give it a go, and in no time, you’ll have a seat that’s not just functional, but a testament to your creativity and resilience. Happy woodworking, folks!

