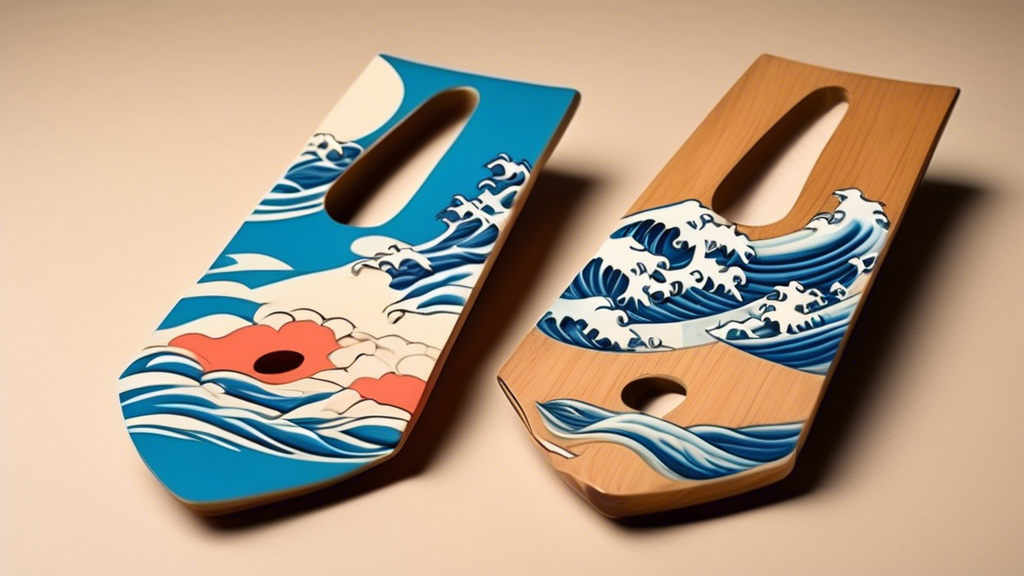
Asian-Inspired Surf Handplane
Ride the Waves with Style: Crafting an Asian-Inspired Surf Handplane
Ahoy, fellow woodwhisperers and wave enthusiasts! Today, we’re going to embark on a woodworking adventure that’s not only pocket-sized but also makes you look cooler than a penguin in shades. We’re crafting an Asian-inspired surf handplane: a sleek little device that’ll make your bodysurfing experience feel like slicing through silky tofu. Whether you’re a beginner or a seasoned sawdust veteran, strap in—this ride is going to be smoother than a freshly planed board.
What in the Wood is a Surf Handplane?
Imagine this: You’re heading out for a surf, but instead of lugging around a colossal surfboard, you just have a nifty wooden paddle strapped to your hand. That’s a surf handplane for you! It’s like a monogrammed bathrobe for your wave-riding experience—completely luxurious and totally unnecessary, but dude, it just feels right.
Materials and Tools You’ll Need:
- A nice chunk of wood (around 8 x 12), preferably something durable like mahogany or cedar.
- A handsaw or jigsaw.
- Rasp and sandpaper (grits ranging from 80 to 220).
- A drill with a 1/2 inch bit.
- Woodburner or carving tools for some bespoke Asian-inspired embellishments.
- Non-toxic wood finish or oil.
- Strong cord or strap for the hand strap (think of it as your surf leash, but make it fashion).
Step-by-Step Guide to Crafting Your Surf Handplane
Step 1: Shaping the Board
Begin by sketching a sleek, curved outline on your chosen piece of wood—you’re aiming for the aerodynamic elegance of a samurai sword. Picture Zen gardens and flowing kimonos, and transfer that vibe to your handplane design. Use your handsaw or jigsaw to cut out this fine shape. Remember, it doesn’t have to be perfect on your first try; consider rough edges as character lines (or personal growth markers if you prefer).
Step 2: Craft Your Curve
Now, it’s time to sculpt that piece into something hydrodynamic. Grab your rasp and channel your inner Bruce Lee. Start rounding off the edges while maintaining the central thickness, which gives you buoyancy. Sand your board down until it’s smoother than Grandma’s Sunday gravy. Switching between grits might just become your new favorite meditative practice.
Step 3: Add Your Personal Touch with Asian-Inspired Embellishments
Here’s where you let your creative flair run wild. Use a woodburner or carving tools to add some traditional motifs or your favorite kanji. This stage may make you feel more refined than a sushi chef on his best day. And remember, a wonky character just gives it a handmade charm, right?
Step 4: Drilling and Finishing
Next up, drill a couple of holes for the straps. You want them as secure as a kindergartener’s shoelaces before picture day. Make sure to apply a couple of coats of a non-toxic wood finish, which will give your masterpiece that ocean-ready sheen. It’s like giving your handplane its battle armor.
Step 5: Attach the Strap
Finally, thread the strap through the holes. A simple knot or buckle should do the trick. This step completes the transformation from stylish cutting board to wave-slicing powerhouse. Test it out for fit; you don’t want it flying off into the wild blue yonder during your debut session.
Encouragement Corner
If your first attempt at a surf handplane looks more like driftwood than a design masterpiece, don’t fret. Remember, my first handplane project ended up as kindling for our next BBQ. Woodworking is all about the journey—a few bumps, dings, and misplaced edges are part of the learning curve.
Advanced Tips
For those seasoned woodworkers among us, try adding a concave shape to the bottom of your handplane to increase water displacement—it’s like adding a turbocharger to your car. Go slow with your sanding and don’t be afraid to try new techniques—failure is just a prelude to mastery!
So, get out there on the open waters and test your new creation. May your rides be smooth, your wipeouts legendary, and your woodworking safer than my attempts at parallel parking. Happy crafting!

